On this page
Everyone who works in DishRoute signs in with their own account. The account decides what the person can see and do.
The roles
| Role | Opens on | Can do |
|---|---|---|
| Owner | Dashboard | Everything, including subscription, domains and security. |
| Manager | Dashboard | Run the restaurant day to day: menu, staff, reports, offers, approvals. |
| Waiter | Tables | See the floor, take and send orders, ask for the bill, answer guest calls. |
| Kitchen | Kitchen display | See tickets, start and finish dishes. |
| Cashier | Take order | Take counter orders and payments, hold orders, close the shift. |
Add a person
- Open Users. Choose Users from the left menu.
- Choose Add user.
- Fill in the details. Type the full name, email, mobile number and a password of at least 10 characters with letters and numbers.
- Choose the role. One role is enough for most people.
- Limit the branch if needed. A waiter or cook who works at one location only should only see that branch.
- Save. They can sign in as soon as you save.
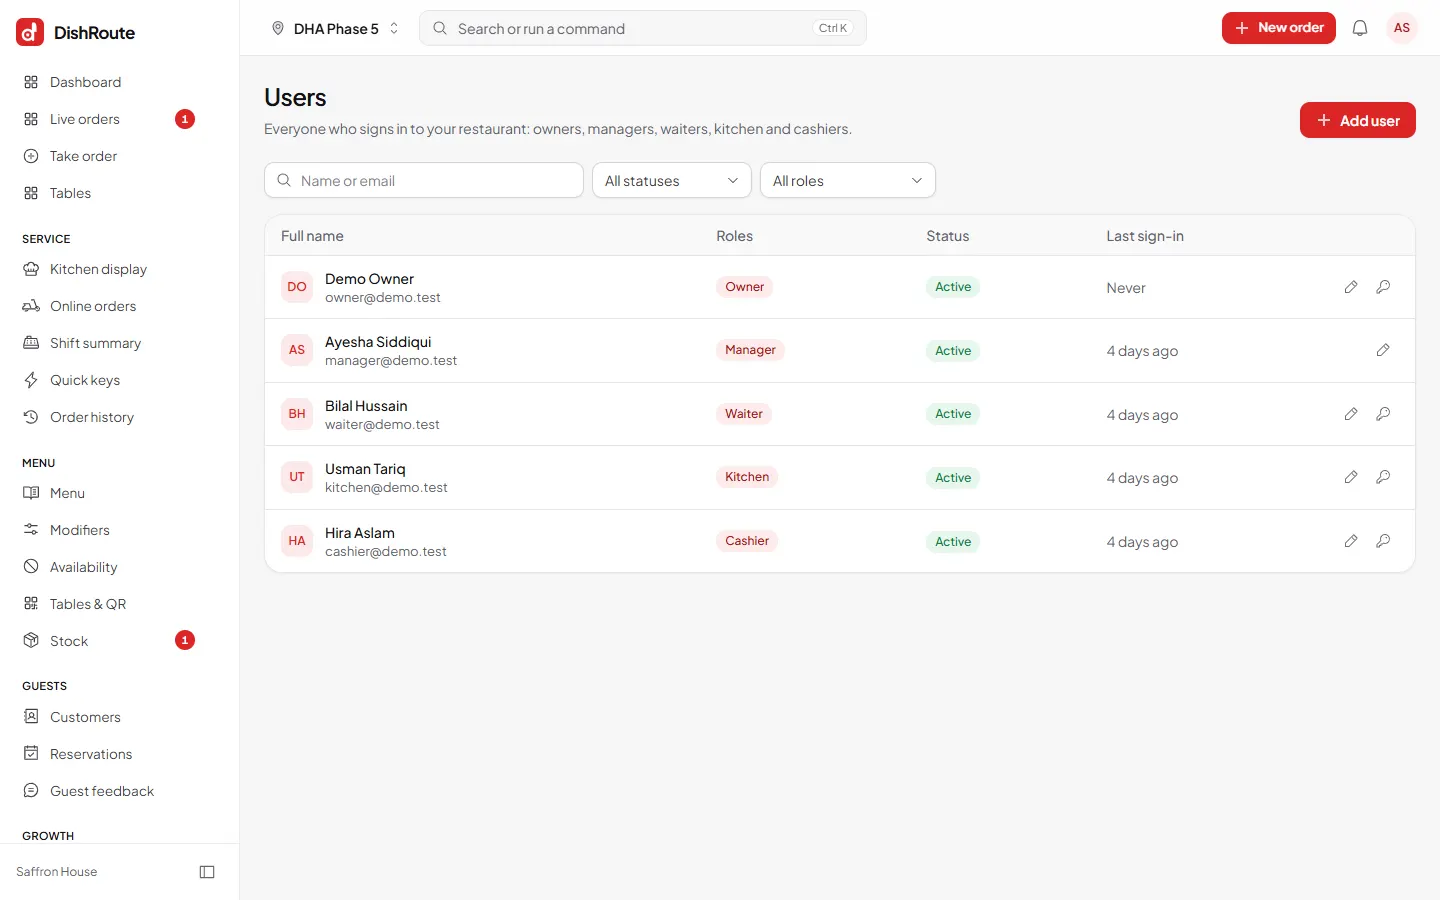
Reset a password
Open the person and choose Reset password. A new temporary password replaces the old one and signs them out everywhere. You can show it once on the screen, send it by SMS or print a login slip. They choose their own password at their next sign-in.
Change what a role can do
Open Roles to see what each role may do. Owners can create extra roles, for example a Supervisor, and tick exactly the actions that role may do.
Manager approval PINs
Some actions need a manager to agree, such as giving a discount or removing a dish after the kitchen started cooking it. The manager chooses their name on the waiter's device and types their 4 to 6 digit PIN. DishRoute records both people. Five wrong PINs lock that manager's PIN for 5 minutes. If no manager in the branch has a PIN yet, the approval box tells you so.
Each manager sets their own PIN: open your name at the top right, choose Account, and find the Approval PIN card (it shows only for people who can approve). Type the 4 to 6 digit PIN twice and confirm with your password. Use the same card to change it later. Managers with the refund permission refund without a PIN. A cashier role has the "ask for a refund" permission instead: the cashier starts the refund and a manager approves it with their PIN (owners can switch this off or set a limit in Settings, Payments). Accounts created before this feature get the new permission when you run php artisan qalamora:permissions:sync, or you can tick it on the role in Settings, Roles.
Related
Was this page helpful?
Good to hear. Your answer is not sent or saved.
Sorry about that. Tell us what was missing and we will improve this guide. Tell us